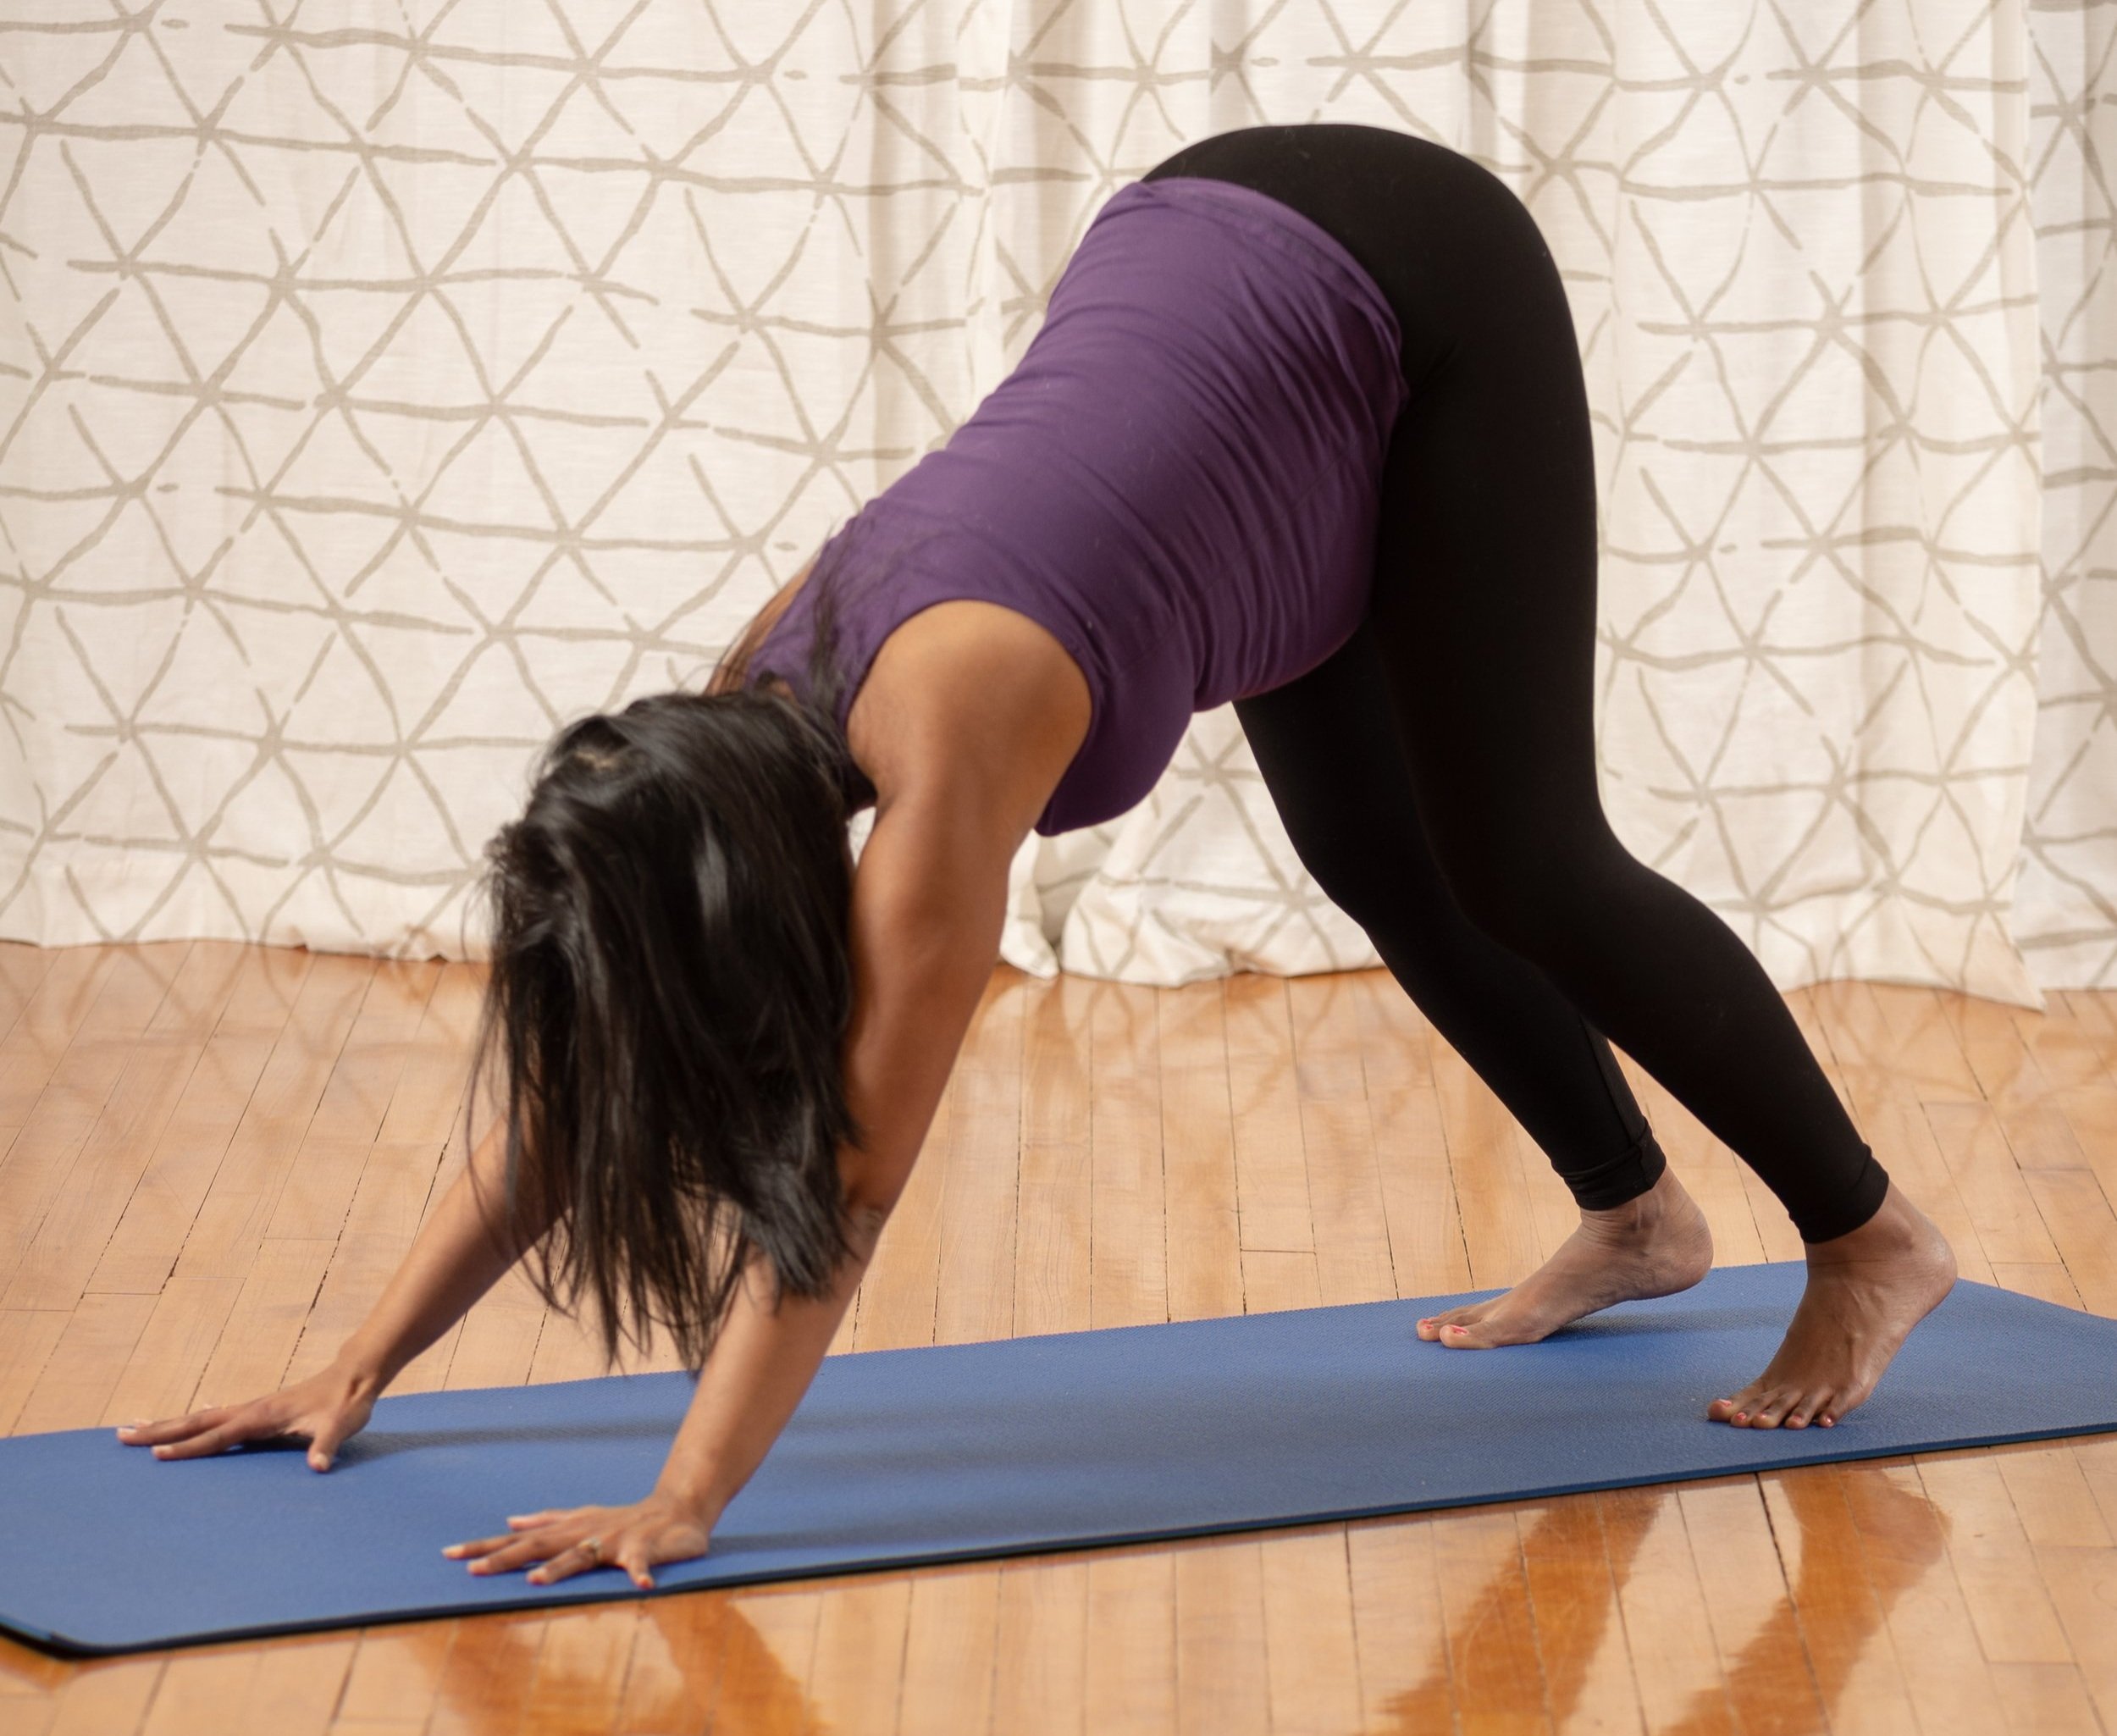
Down Dog- Possibly one of the best known yoga poses, and an inherently popular one amongst small children as well. This pose has several benefits for pregnancy and labor preparation and can be done in two orientations depending on arm strength, comfort, and flexibility.
Down Dog is beneficial for pregnancy and birth preparation for two reasons. First the pose elongates the spine, which helps relieve tension throughout the lower and upper back, helping to create more room for breathing and for pelvic movement. If you haven’t read my earlier blog post about the benefits of cat/cow, definitely check it out.
The other reason Down Dog is extremely beneficial for birth preparation however, has far more to do with the lines of muscle which combine into movement chains within the body. There is a deep front body movement chain which is guided primarily by the Psoas and hip flexors, but there is also a deep back movement chain which runs from the base of the foot, up the thigh, across the back of the pelvis (hint hint) and then continues up into the lower and upper back.
Posterior Pelvic Ligaments
Balancing the tone along this deep back line not only helps with aches and pains during pregnancy, but it also impacts the mobility withing the pelvic joints during labor. In the back of the pelvis are a set of thick ligaments running from the sacrum to two spots on the ischium section of the pelvic bones. These are known as the sacro-spinous ligament, and the sacro tuberous ligament. Intended to stabilize the sacrum while walking or standing, these ligaments can actually inhibit the birth path if pulled overly taught by tense fascia and muscles connected to them.
The pelvic outlet with the posterior pelvic ligaments
During birth, the sacrum needs to be able to swing backwards to open for the baby moving down and out. The body assists this with hormonal changes- most notably the addition of relaxin into the system throughout pregnancy which softens the connective tissues. But depending on our movement patterns during pregnancy, this additional connective tissue pliability may not result in enough space, if the entire system into which the ligaments connect remains tense and held.
The Posterior Muscle Chain- image from fitnesslab.fit/the-posterior-chain/
Looking at the back of the pelvis from a larger (ie not just individual muscle or ligament) perspective, we can begin to see how the pelvic ligaments (and the posterior segment of the pelvic floor) connect into the posterior movement chain. The calf muscles connect to the hamstrings at the back of the knee. The hamstrings then run upwards attaching to the sitting bones. From there the sacro-tuberous and sacro-spinous ligaments, extend up to the sacrum- paralleling the fibers of the back muscles of the pelvic floor. From here the glutes pick up the trail and continue up into the limbar spine, where the thoraco-lumbar fascia connects into the latissimus dorsi muscles extending up to the shoulders and arms. Voila, a full chain of connective tissue and muscle which creates movement in the back of the body.
So what’s the problem with having tense calves if we are looking for movement in the pelvis? Well the tension at the base of the movement chain pulls on the hamstrings, and restricts the movement available at the hip joint when moving forward. As I mentioned in the post on Cat/Cow, being able to tilt specifically at the hip socket helps to widen the posterior pelvic floor and during birth could help make space for the baby. But if the body is holding excessive tension in this back line, it will try to borrow movement from either above or below the stiffened joint, rather than going right into the tight spot. Cue rounded lower backs during forward folds, or bent knees to achieve the desired movement.
If we are able to free the calves, we take the first step in releasing the posterior movement chain. Once started, it would be worth while to focus on finding forward flexion directly at the hip socket, but without the freedom lower down the chain, this quickly becomes a borrowed movement situation, rather than a therapeutic action.
Downward Dog Pose Practice
Begin in Table posture with the toes tucked under. Inhale to open the chest and lightly raise the sitz bones towards Cow pose. On an exhale, press the hands and feet into the floor, raising the hips up and back, aiming for an upside down “V” shape. Start with the knees bent.
The first aim is to lengthen the spine. Ground evenly through all four corners of the hands, and feel the sitz bones move backwards as though pressing into a wall. From here, work to stretch one heel at a time towards the floor opening the calf muscles.
Alternative Downward Dog/ “L” shape
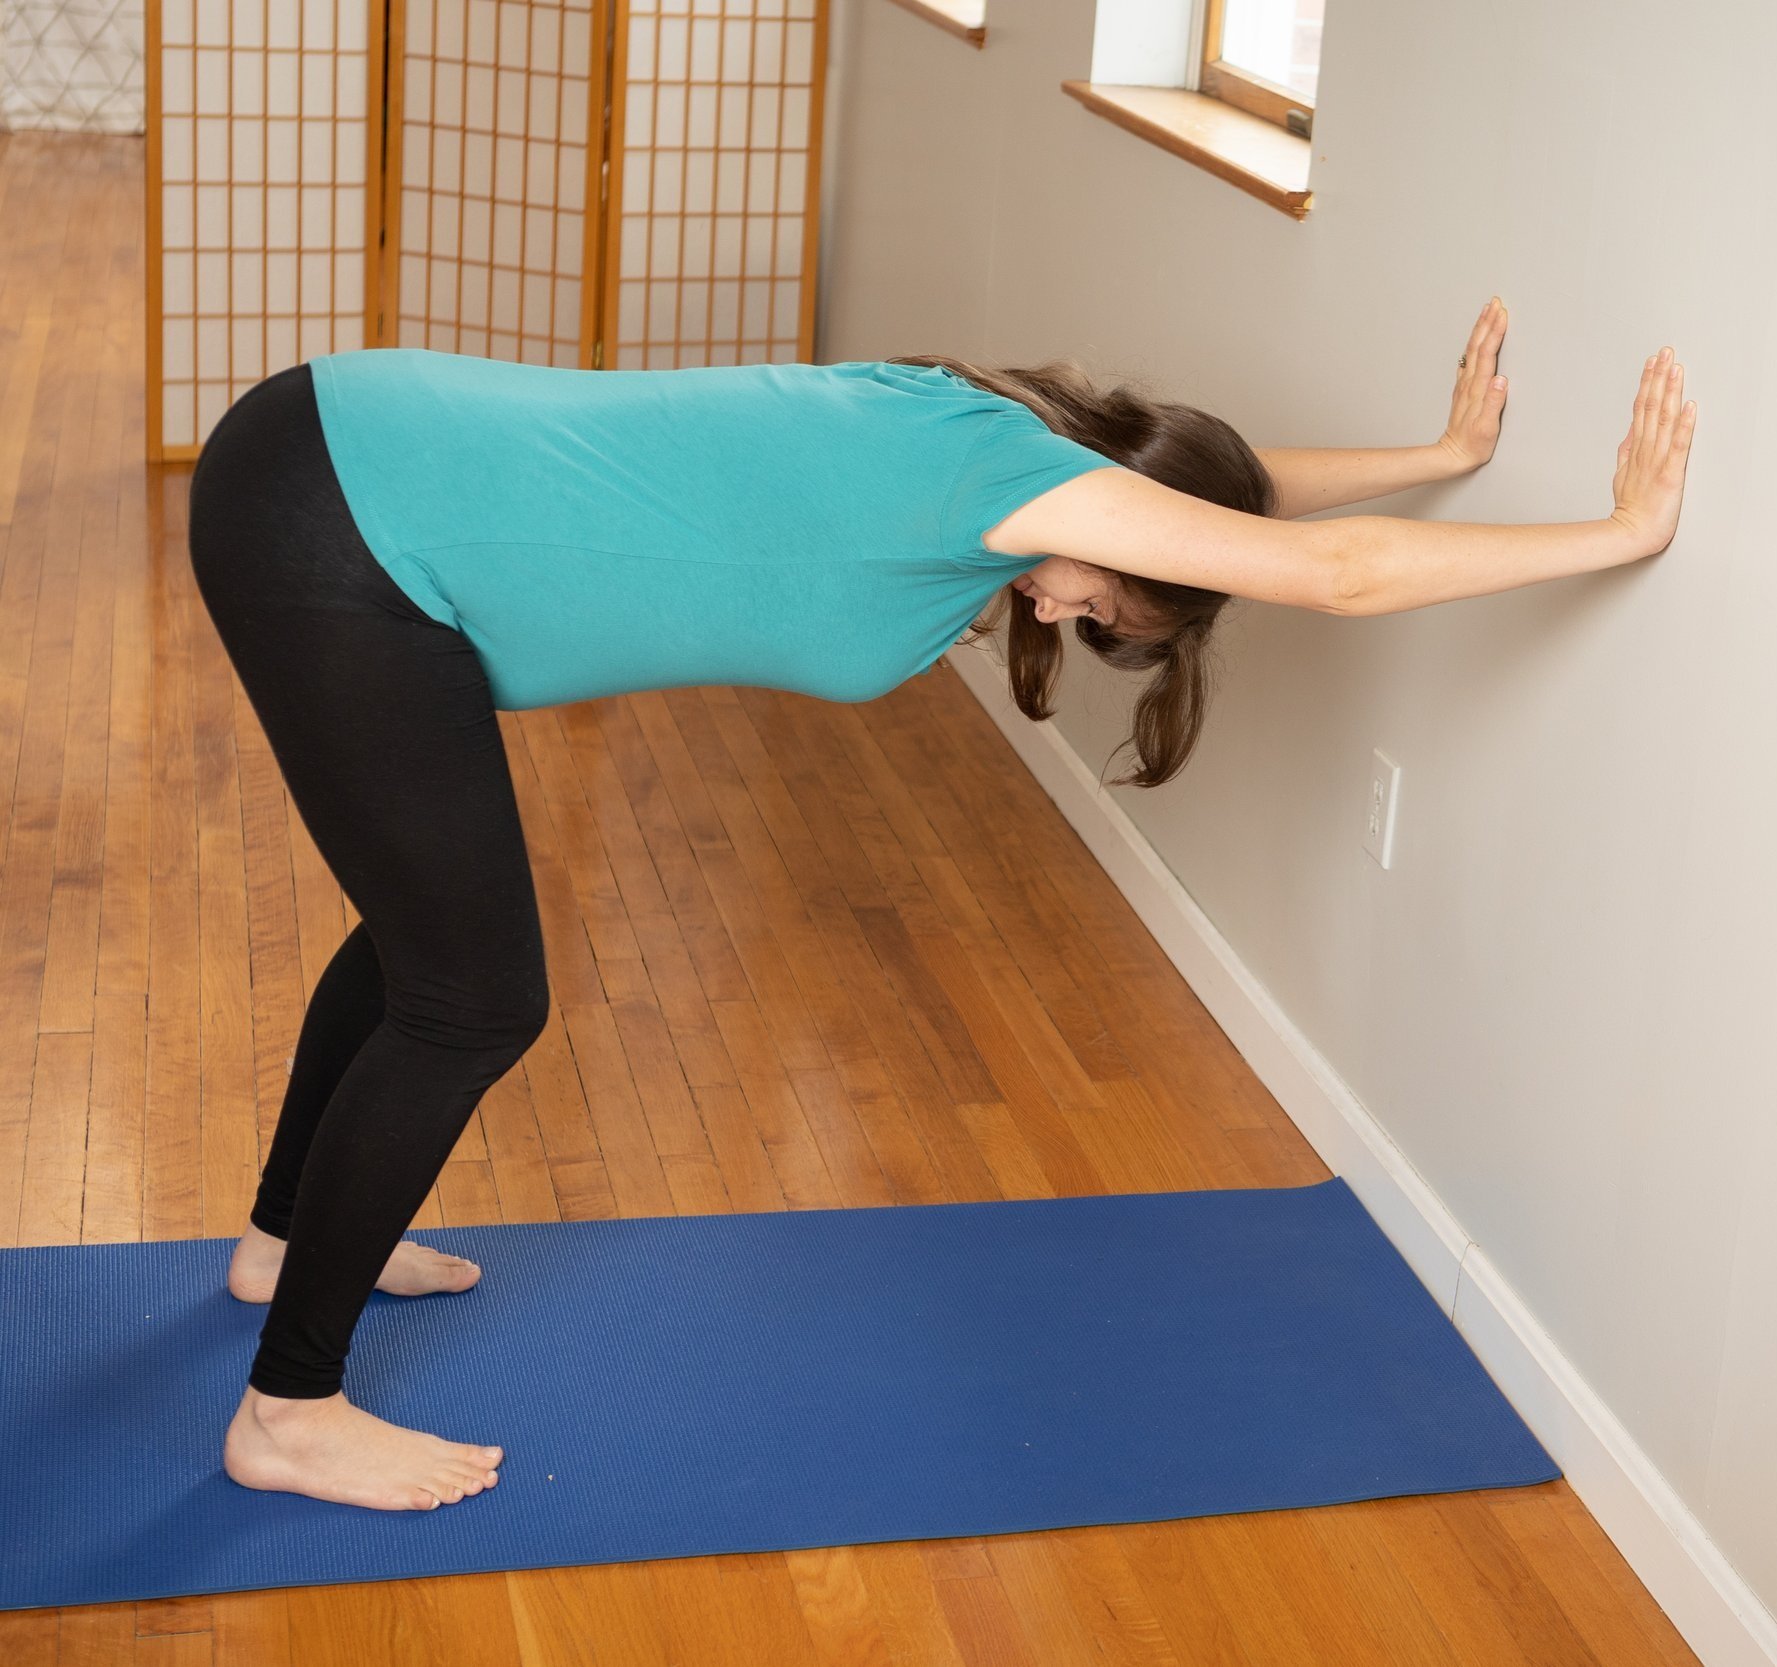
Down Dog at the wall- knees can be bent or straight
For those who find the weight on the arms excessive in the classic downward dog- or those not inverting for congestion, heartburn, high blood pressure or because you just don’t want to, there is another option.
Stand facing a wall or dresser and place your hands at hip height against the wall. Maintaining a straight spine, walk the feet back until the arms extend, and the hips flex towards 90 degrees. Be more interested in finding the hip flexion than on getting close to the floor. (i.e. the hands may be above hip height if your hips do not flex to 90 degrees yet.
With the arms extended, actively press into the wall while reaching back though the sitting bones. Be sure to keep the ribcage lifted in rather than sagging towards the floor. You will most likely feel an opening along the lower back, and into the back of the sitting bones. (To further target the calves, you can step one foot towards the wall, bending the knee while anchoring the back heel to the ground like a modified lunge- step back to Down Dog and change side if doing this variation)
The essential mama poses at your fingertips
Click the link below for a free downloadable ebook version of my Essential Mama Poses prenatal series so you can take my most recommended poses right to the mat.


